
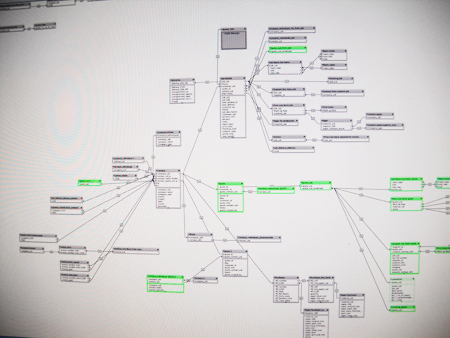
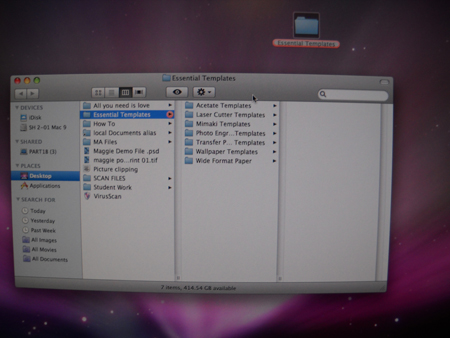
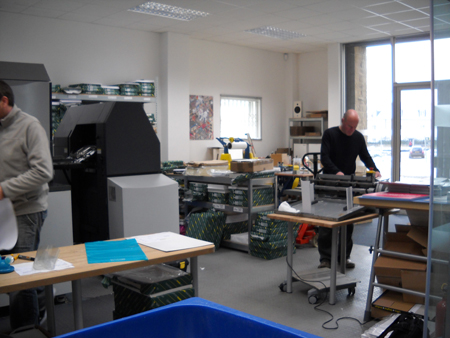
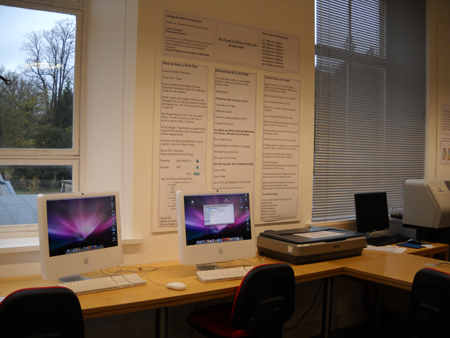
I visited printer companies to investigate how their printing structures work. I also looked at other facilities around university.

http://www.ripedigital.co.uk/2008/07/31/control-print/
I visited printer companies to investigate how their printing structures work. I also looked at other facilities around university.
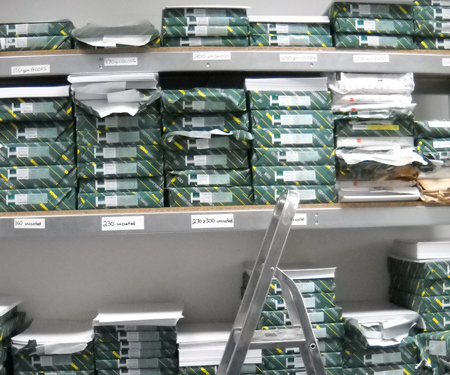
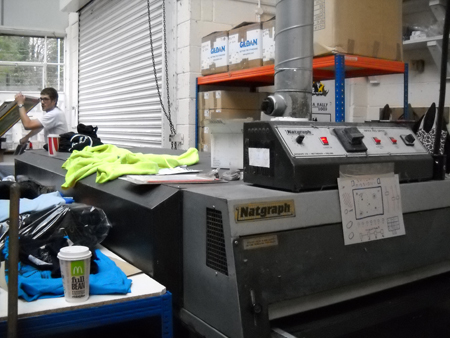
http://www.ripedigital.co.uk/2008/07/31/control-print/

Below are some other ideas:

I wanted to find out what font was contained in each case, as there are no font labels, so I started out by printing 3/4 letters from each case. The below image is a selection.


The aim of this project is to produce a catalogue of Bath Spa Letterpress wooden facilites and another volume demonstrating what is possible with the facilites. With this information re-orgranise the case structure. I will then try and identify the font using “whatthefont”


After speaking to a technition, I realised that cutting out the fine details with the laser cutter would be impossible and a fire risk! I therefore decided to turn the image into a negative, so that the letterpress texture could be rasterised leaving the raised print.

The printed laser cut letterforms worked well. The plywood grain is noticeable aiding the font.

I also experimented using the CNC Router, however the fine detail could not be achieved.

Other experiments are lino and photo-polyer etching.


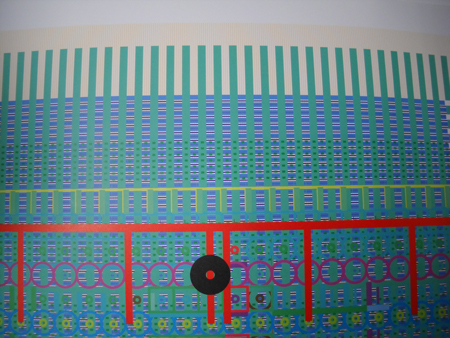
Created using letterpress punctuation. I overlapped the chase and used orange and silver mixed with transparency.

.

I created these experiments using letterpress punctuation.


.

.

Effect created from scanned negative.


Images created using colour overlays and photograms, wanted to play on blue and orange which were the colors that in my mind represented Iceland.

orange-earth, gysir, hotsprings. blue=water,ice.


Photo gram created using a bottle and water.

Just wanted to play around with colours and shapes

some more


I created the original font using a repetition of 3 design parts as seen below.

Giving myself a restriction, I set about creating patterns and compositions.

An idea could be that when I creat my letterpress font i get circle and line design parts cut out so other people can construct their own patterns too.


I think it would be nice to create a tool kit of design elements for people to construct their own patterns.

I created these images by repeating and inverting existing patterns I had made.


Brief: Produce a font that is relevant to the letterpress studio than can be processed to be used as a working font in the studio. I thought it only fitting to continue my development of the b a t h letters and develop a whole font since it had been inspired by wooden letterpress textures and it was based on bath. You can see the previous work here
The image below demonstrates the letterpress block height. The next stage would be to reduce the cap height. Use other “o” shape. Use more textures. Letters: c, e, k, s, v, x, z need developing and improving.


After developing the b a t h letters it was time to take the design to the printers.
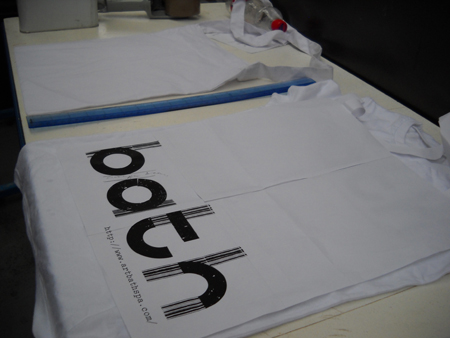

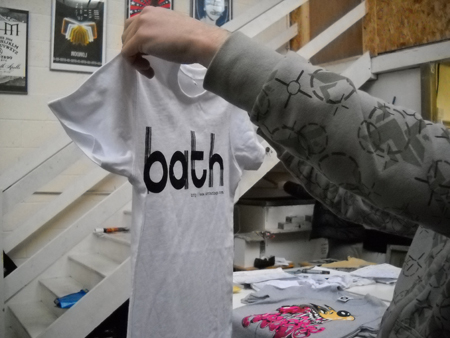


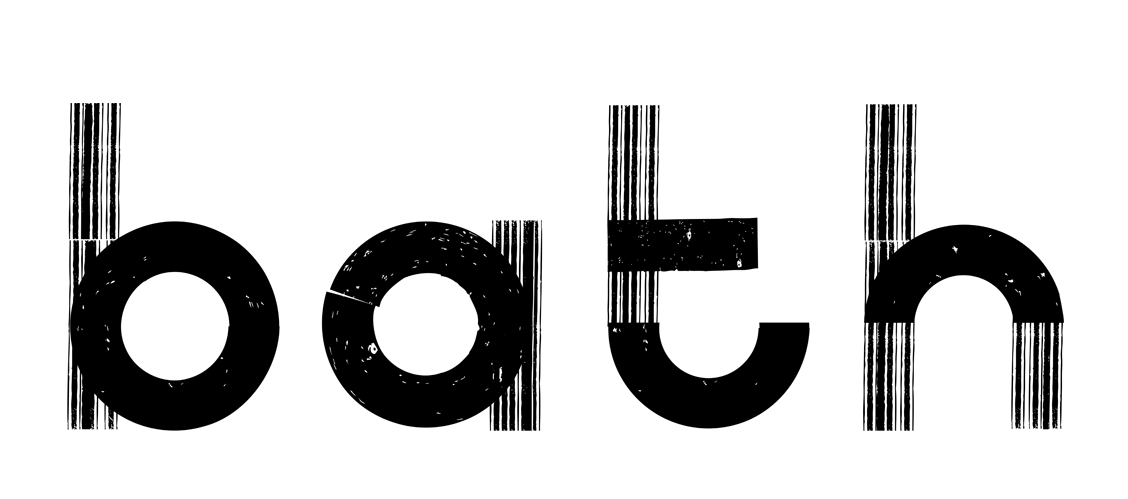
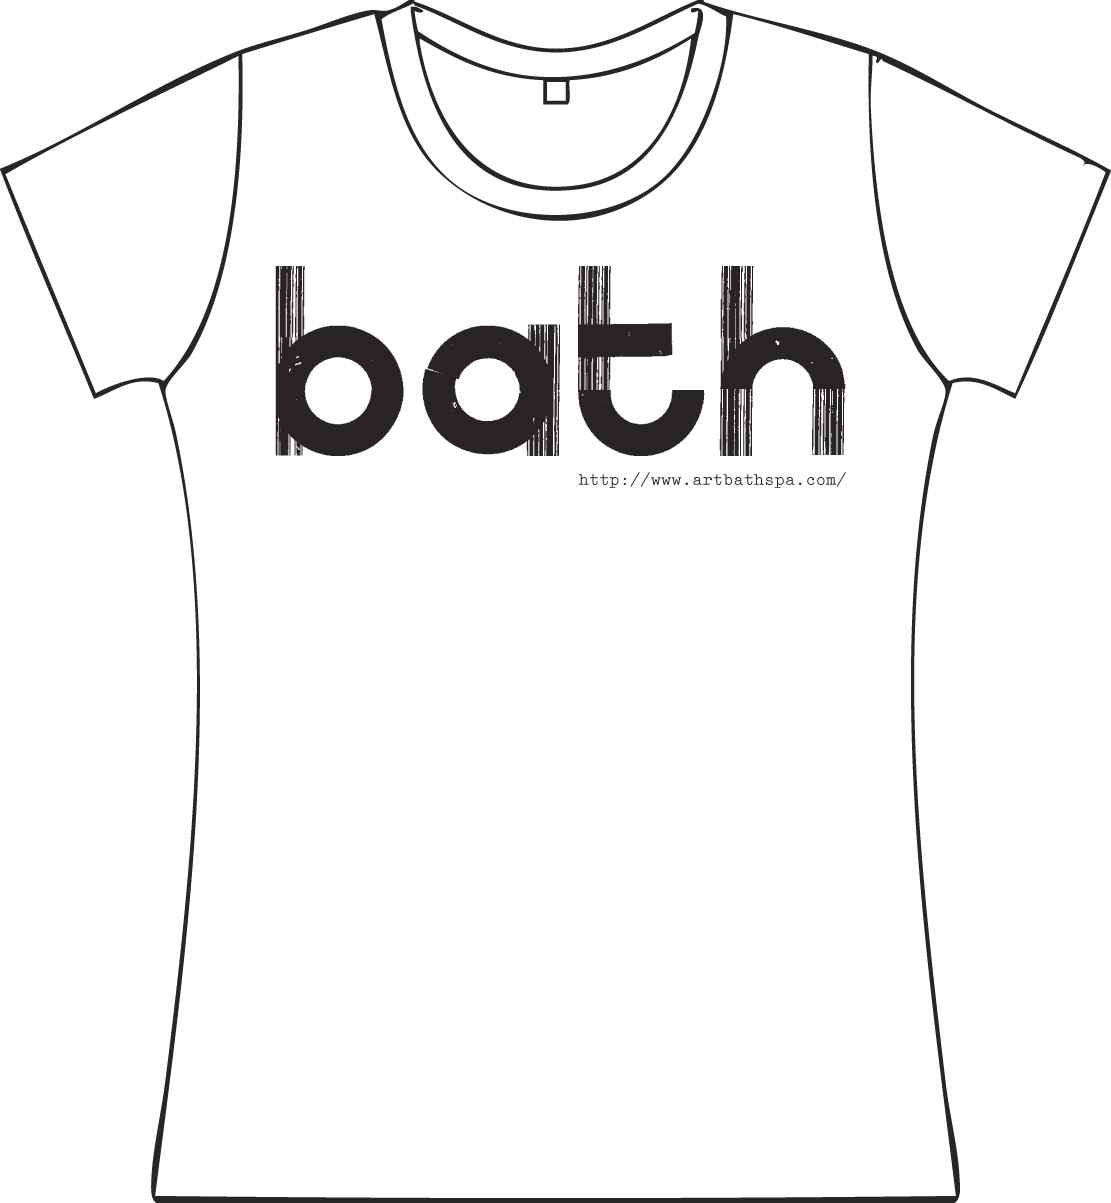

These were the letters I submitted. I created the textures using letterpress lettering and scanned in newspaper borders. I wanted to represent Bath’s history – the vertical lines representing the columns found in bath. I used letterpess textures for the repeating circlular shapes to reflect bath spa’s craft background. I wanted the font to be simple but beautiful, playful and fun. I attempted to make the letterforms slightly haphazard and clumsy to demonstrate this.

Using these textures I then used it to create a simple map.

This images show the process of creating the 4 letters.

I started by looking at art deco shapes.

Then used the shapes to create the letterforms.

The 4 letters – the A is too hard to read.

However I wasn’t happy with this result as I felt it didn’t represent bath.
We are looking for you to design 4 graphic letters that
say 4 letters: BATH. We need this for tote bags / T-shirts / maybe badges and will be used for the stand at Ucas fairs in Manchester and London. Your design should be / simple / beautiful / functional / legible. You may approach this in any way you like handdone / painted etc… but remember it has to be functional and read at different sizes. We would also like you to produce a simple map that shows our location
in relation to the rest of britain, students applying always ask
‘where is bath’?


1. Every student will have their individual barcode that is based on information about the person. I am in the process of generating a system, where the user will answer questions and based on the answers can fill out a grid sheet. Each person would create their own code based on decisions and answers, they would then colour out the grid squares which corresponds to the answer. The grid is 20 x 20 = 400 squares

The filled in code, could look something like this.

Then I would create a computer image of the code

2. I will then convert this to sound, either by deconstructing a single sound or by turning the code into a musical score. so each person as an individual sound/image that represents them = a signature. The signature will contain brief information about a person which is revelaed from the decision process.
3. I will then create a demo – a short film. Print the created codes on to t-shirts, set up scanners/readers that can read the codes as the person enters the room a repeated single sound/ melody will play. With lots of people in the room this will create an interesting sound. It could sound something like this. test
4. The code could then be placed next to the work at the degree show. Each student will have an assigned signature code which when scanned in by a viewer with a iphone device/androaid will direct them to their own website and or their details/information.
Potentially the codes could combine to create a year 3 code – which could link to a year site that combines all sites of all the students (this is currently being developed)


Kathryn Faulkner is a experimental artist/photographer who came and did a talk at uni. I created this poster using a photogram of a bottle and scanned in letterpress.


Read below to find out how created this image.


Different colour variation


http://www.abbeyroad.com/visit/
This site allows you to watch a live webcam of the famous abbey wood crossing. Many tourists come here and some try and replicate the Beatles “abbey road” album cover. This can be quite entertaining to watch as many make many attempts running back and forth changing direction on the crossing.

This was my initial stage.

I decided to watch and analyse the webcam. I was interested in how the people crossing from left to right or right to left could generate a pattern. So I recorded 1 hour of the webcam: Saturday 9th Oct at 2:51pm. I then analysed the footage making note of stops, seconds taken to cross, direction of crossing, number of people.

Above image are my written recordings helping me to create the top images. Below image is a key.

The next stage would be turn the stop start key into a piece of music/ animation.
Flash movie demonstrates finished version. The triangles should rotate depending on the input picked up by your microphone.
These flash swf files require an installed microphone. For better results, speak into your microphone or and try turning off any background music. Press Allow for swf files to play. Triangles should react to microphone interaction.

click here to play final triangle flash file
I set up the interactive triangle piece in uni, the triangle rotate creating different patterns as background sounds are picked up by the microphone. Click the movie below to see how the pattern changed.
Flash movie demonstrates triangle microphone devlopment. The triangles should rotate depending on the input picked up by your microphone.
These flash swf files require an installed microphone. For better results, speak into your microphone or and try turning off any background music. Press Allow for swf files to play. Triangles should react to microphone interaction.

The idea here was for the triangles to rotate 90 degrees = 4 rotations. As the you move your mouse curser over the triangles they will rotate 90 degrees creating a pattern.

An example of how the pattern can change.

click here to play flash movie, don’t forget to scroll your mouse cursor over the triangles
Some initial sketches.


